


©2026 BloomfieldCooling.com. All Rights Reserved. | Privacy Policy | Sitemap | Powered by Media Consultants, LLC
- 973-237-0505
- info@bloomfieldcooling.com
- BLOG
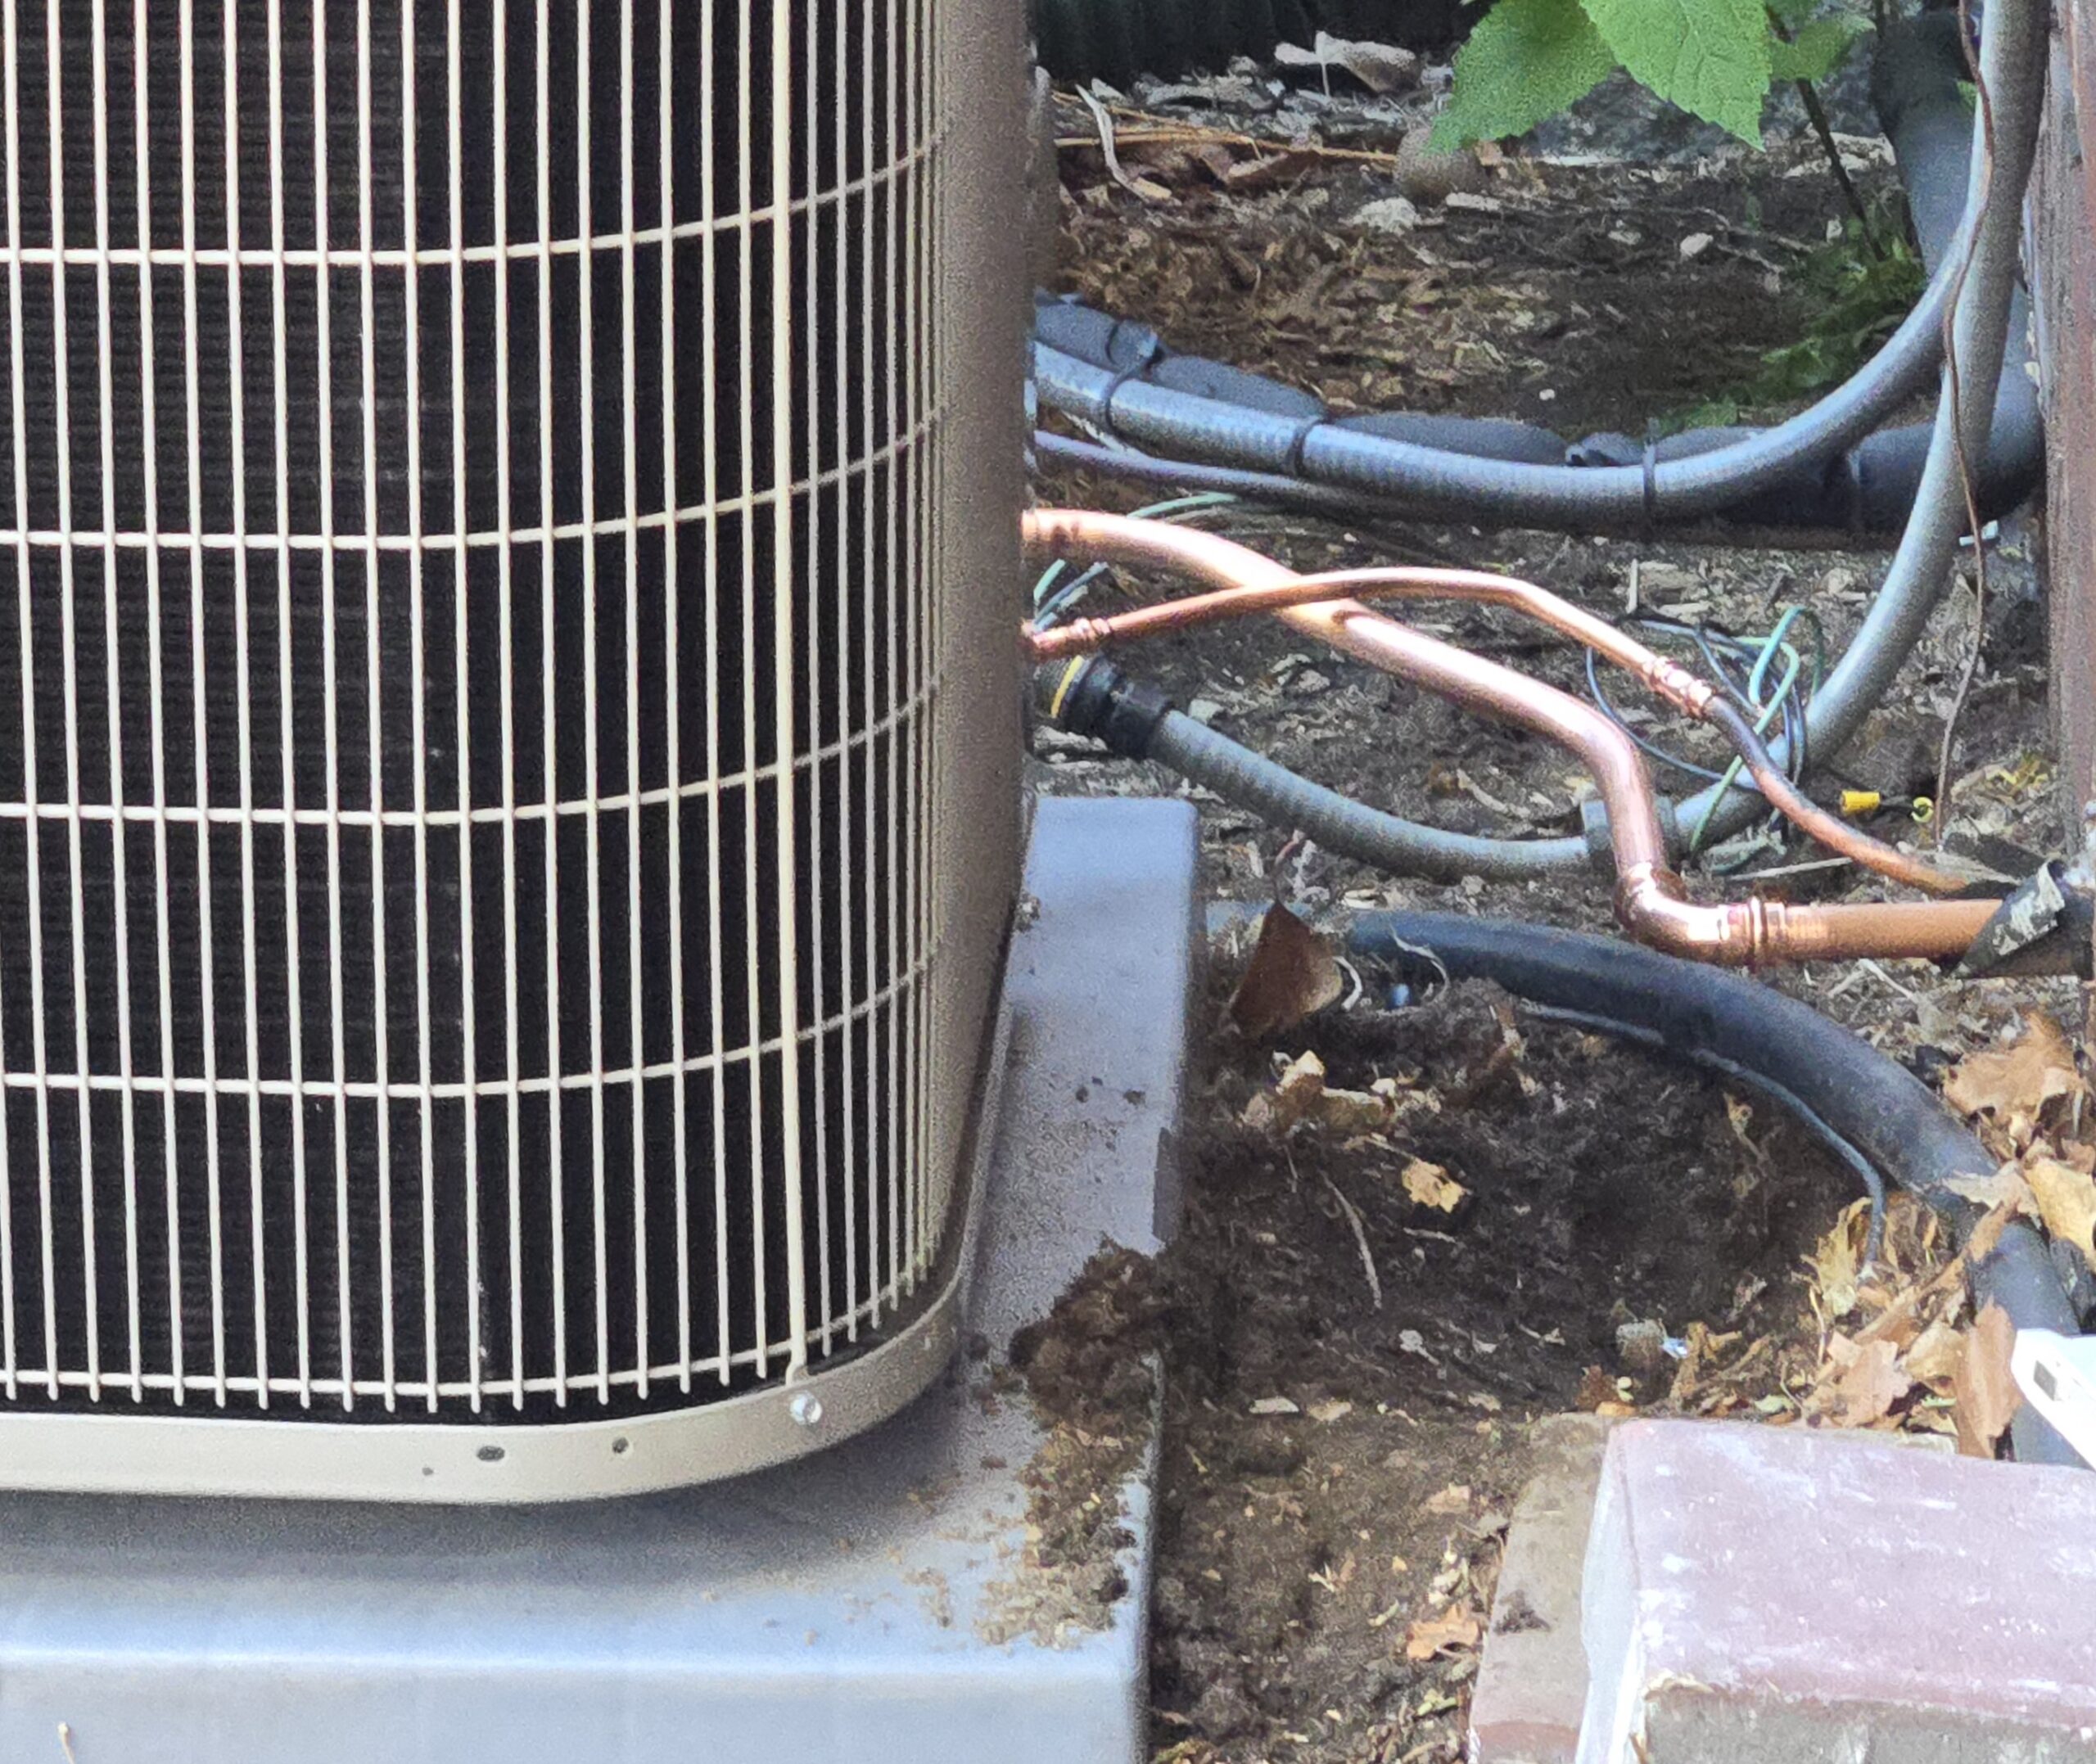
Well, the day finally came when my 20-year-old central AC unit in my attic needed replacement. During my routine spring maintenance visit, the technician reported that it “needed a new coil” and showed me a photograph of the aging culprit. I thought that meant replacing a single component but what this requires is a full system replacement (the indoor evaporator coil, the outdoor condenser and line set).
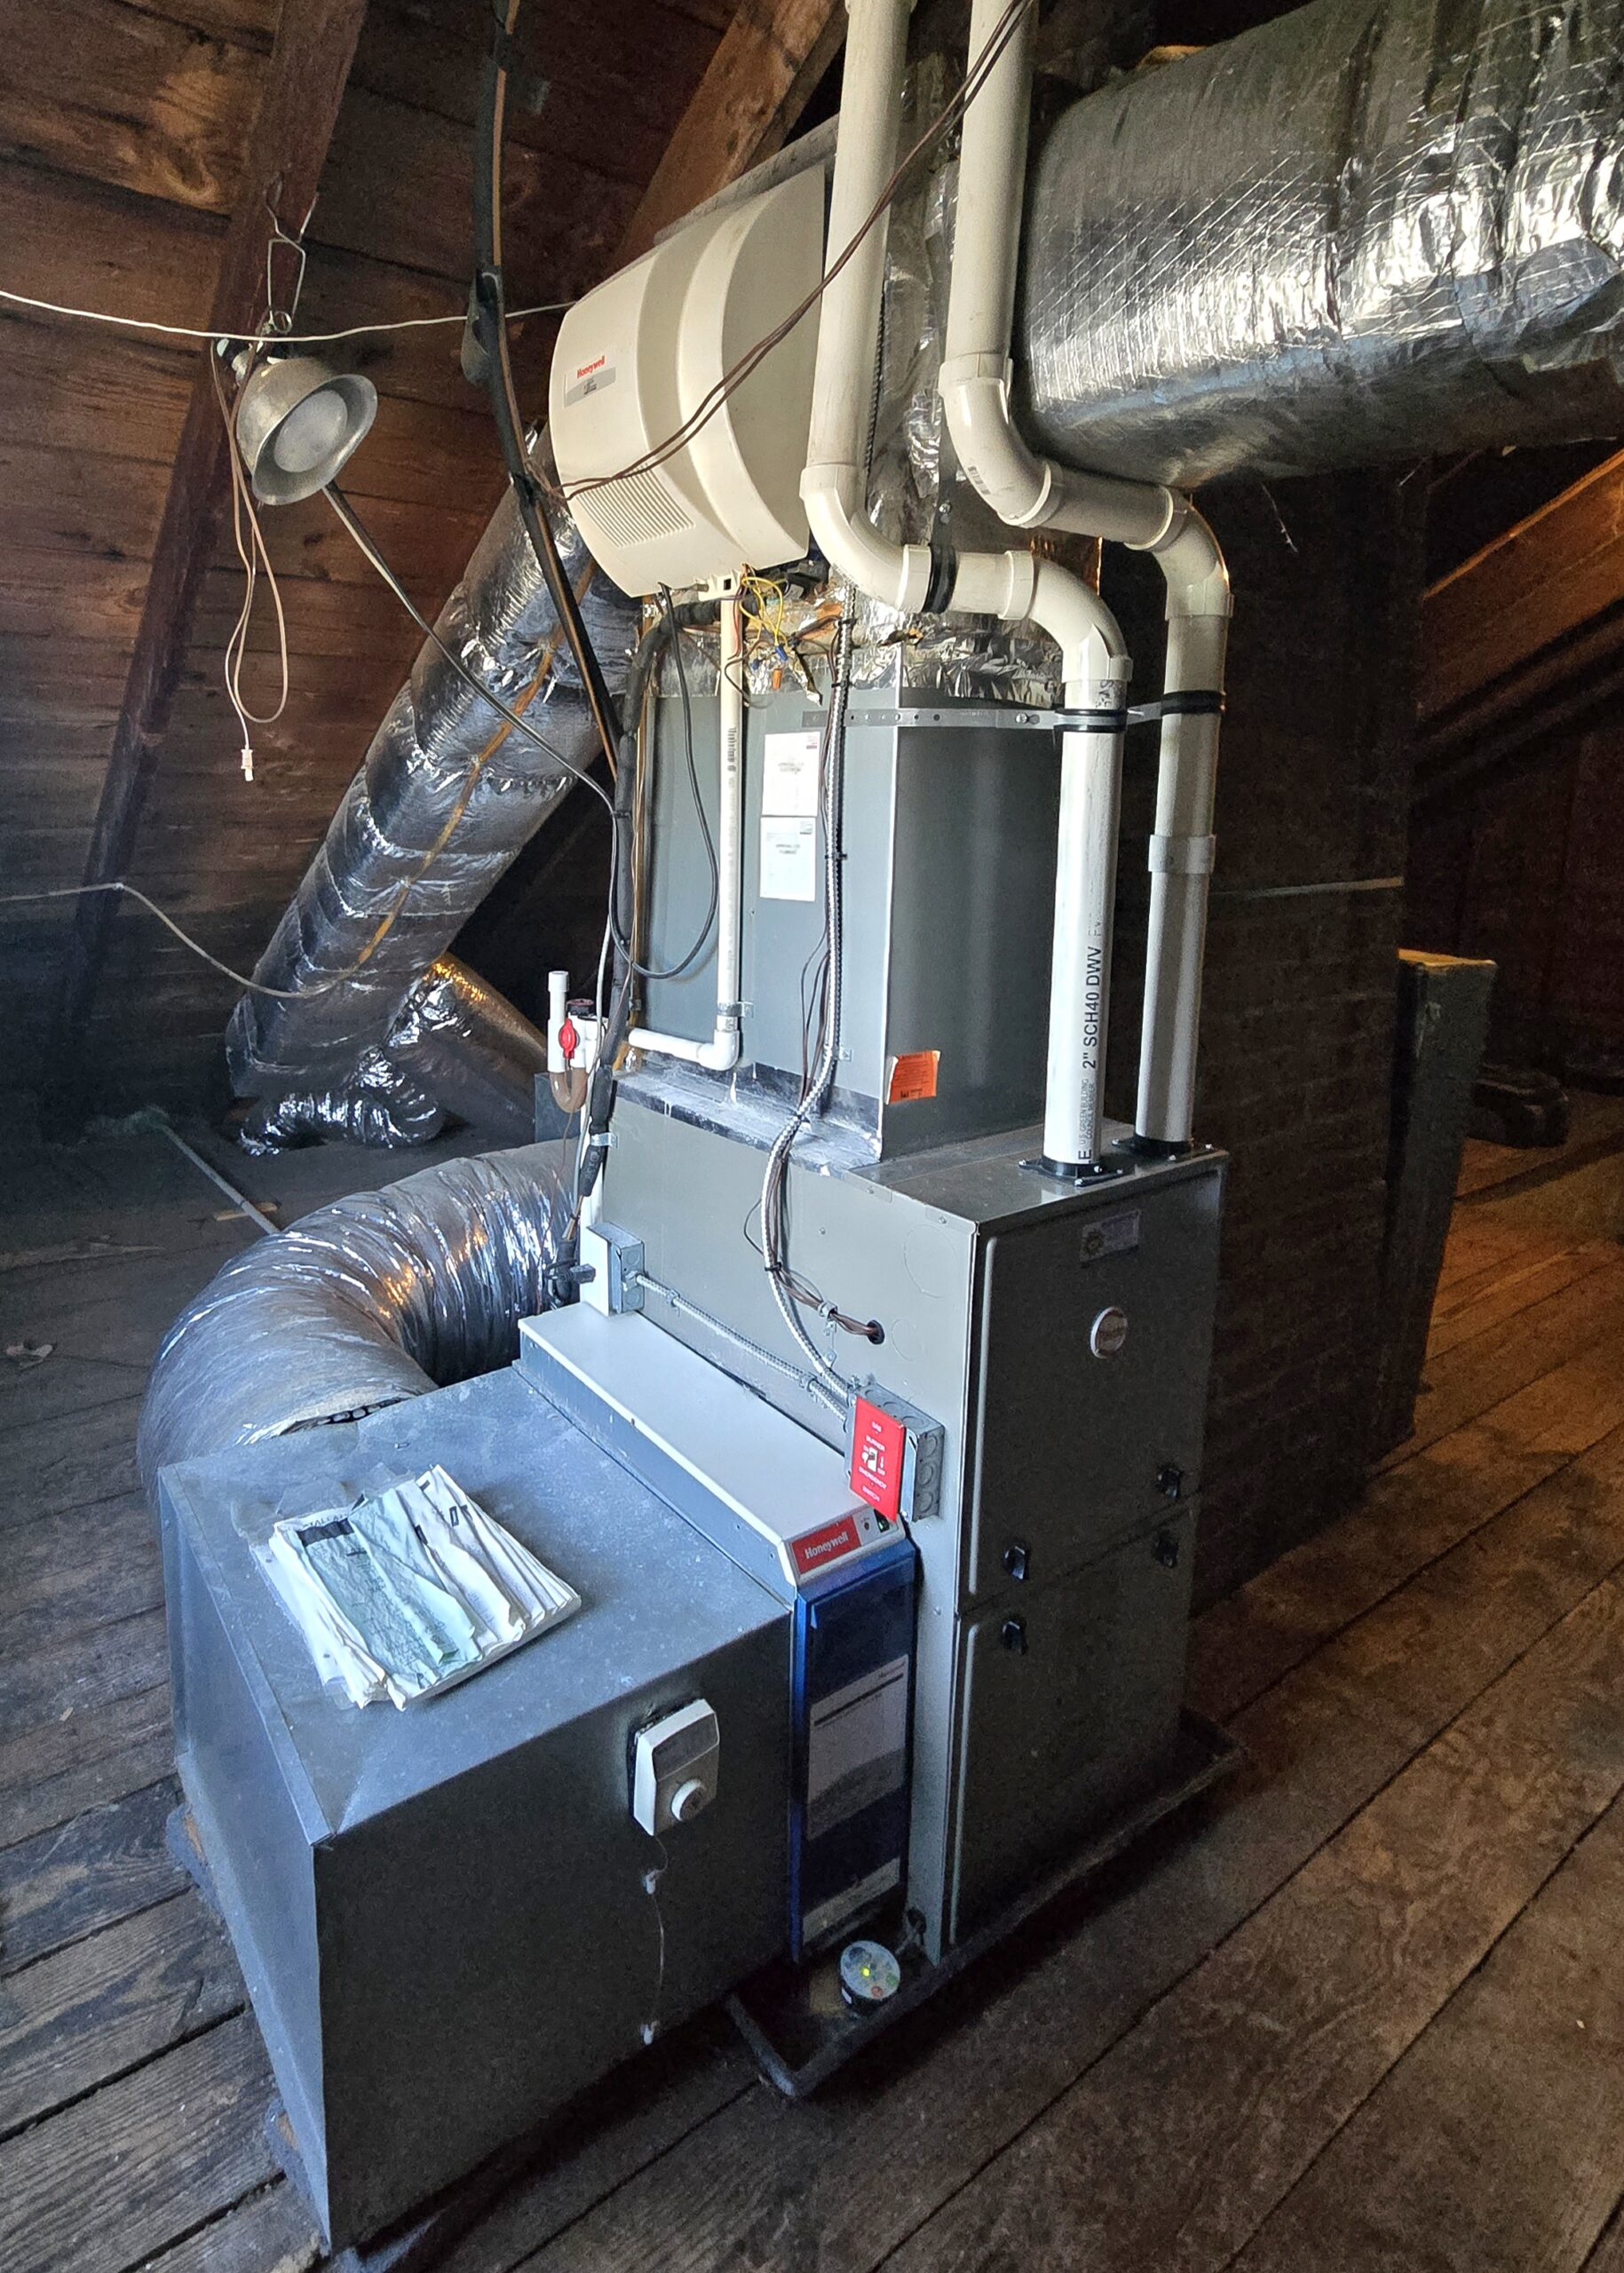
Air handler and condenser before replacement
At this point, although the air conditioning was working, its efficiency was declining (it was running short cycle times, for one thing) and it used outdated R-22 refrigerant which was phased out of use in the U.S. in 2010, although systems using it were still being serviced. Since 2025, new systems must use a new class of more environmentally friendly A2L refrigerants, which you can read about here.
The technicians from Bloomfield Cooling, Heating & Electric—Eric, Ariel, and lead installer Aaron—arrived right on time (as always) and got to work promptly on the approximately six-hour project to replace the evaporator coil at the air handler, the outdoor unit, and the line set—the copper pipes that connect the condenser to the air handler. Electrical work was completed by Albert, who arrived when that part of the installation was ready.

How the central AC project proceeded
1 – The technicians recovered the old refrigerant according to EPA guidelines, and disconnected and removed the old condenser, coil, and line set.
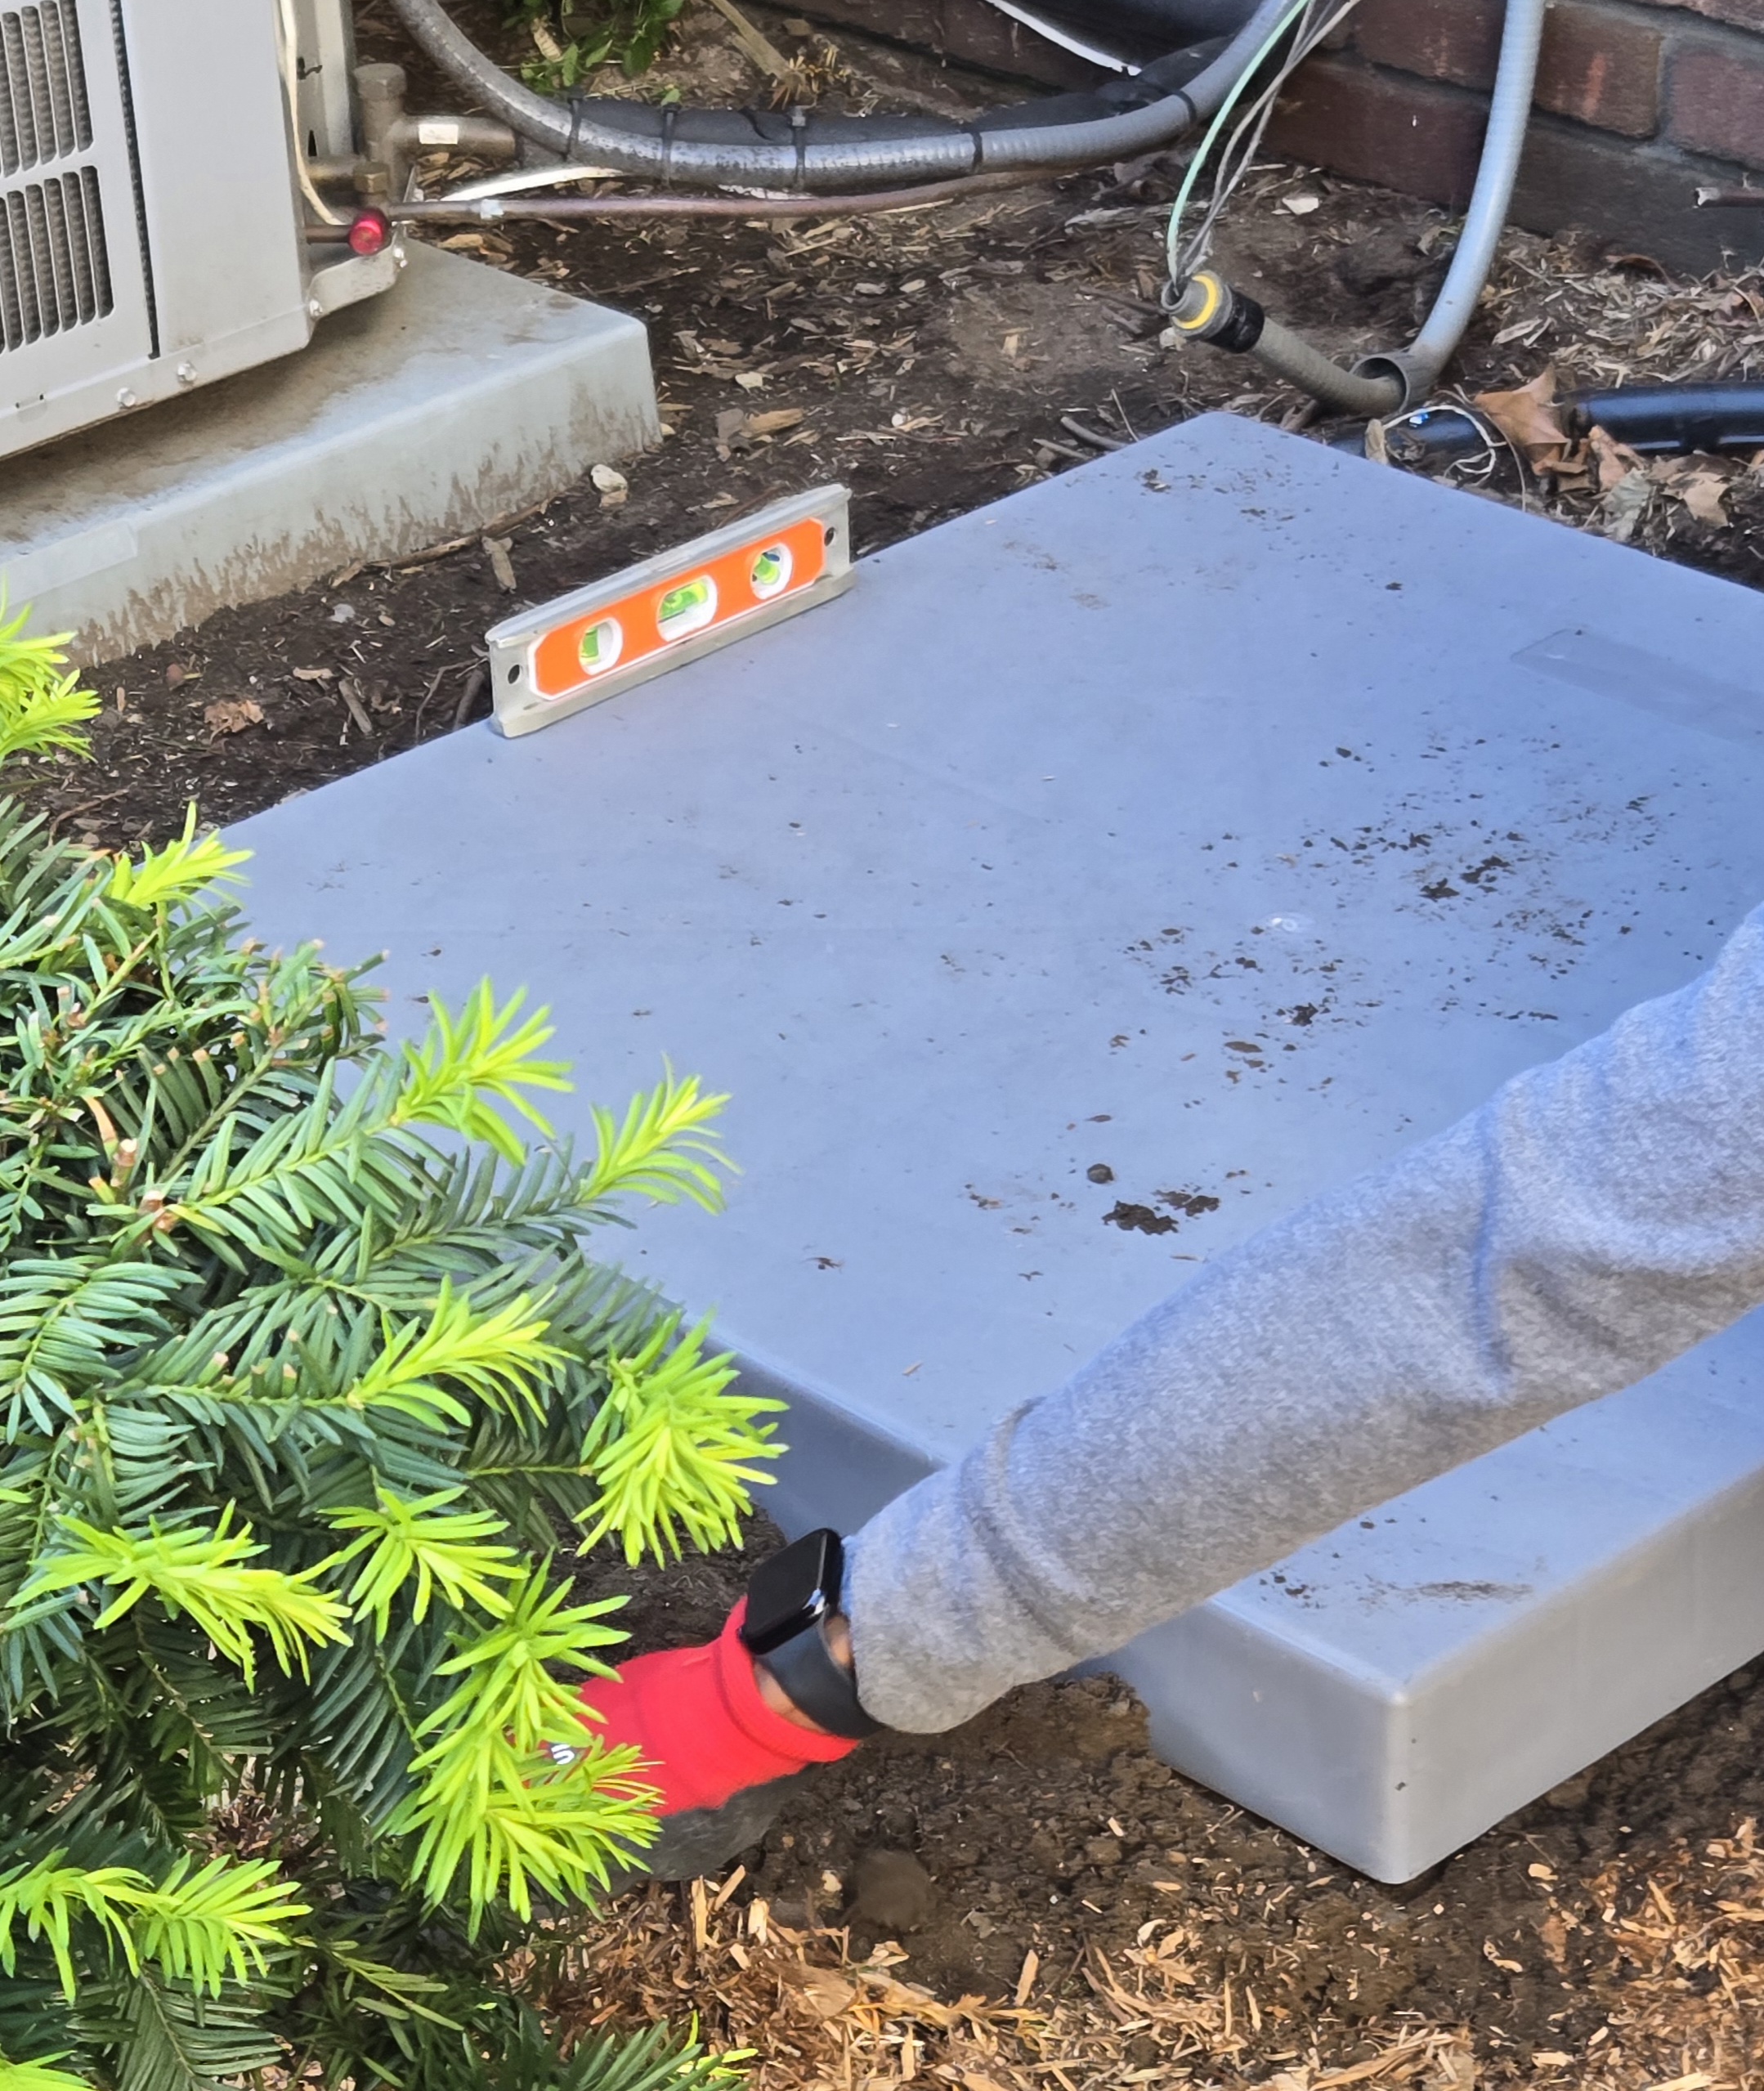
2 – Eric maneuvered the composite pad on which the condenser sits and made sure it was level on all sides before the new unit would be installed.
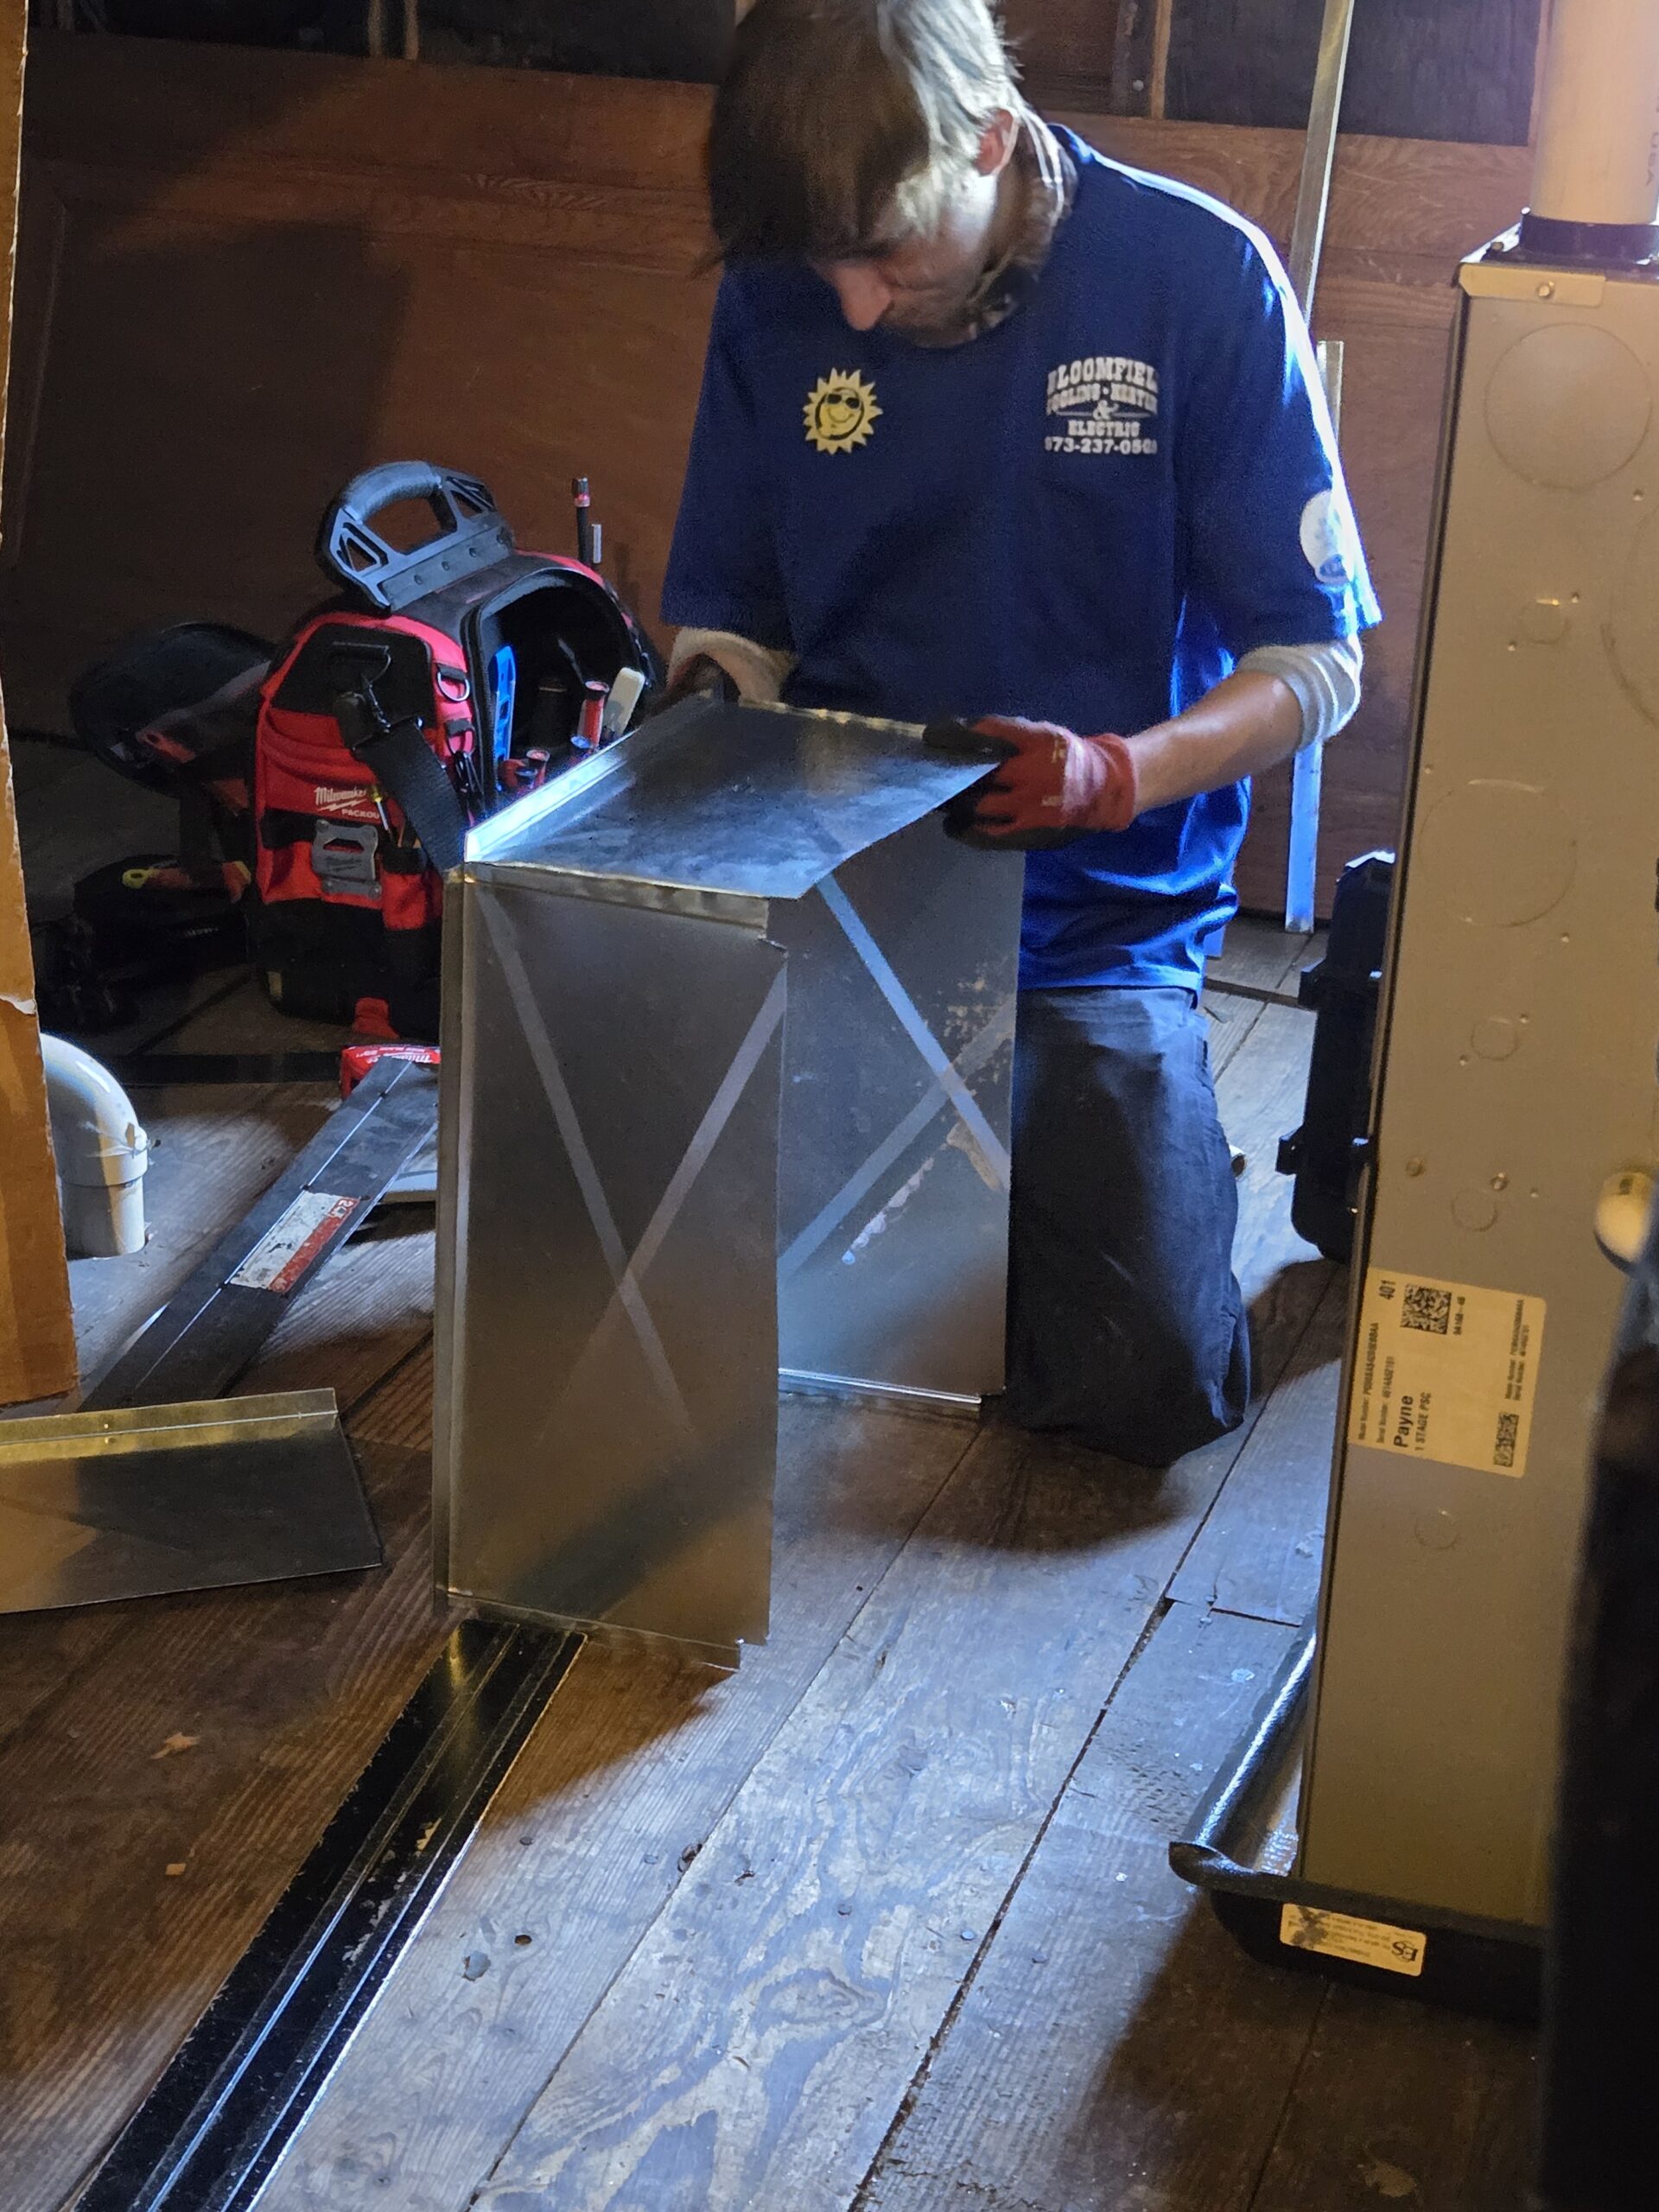
3 – Upstairs, Aaron fabricated a sheet metal extension for the air handler housing, since there was a size difference between the old and new components that would have to fit the existing layout.
4 – The new copper refrigerant lines were installed outside and connected using press fittings to create clean, watertight seals.
5 – The team cleared the pipes using nitrogen, connected the thermostat wiring to the new unit, did a deep vacuum to clear out moisture, and performed a leak test.
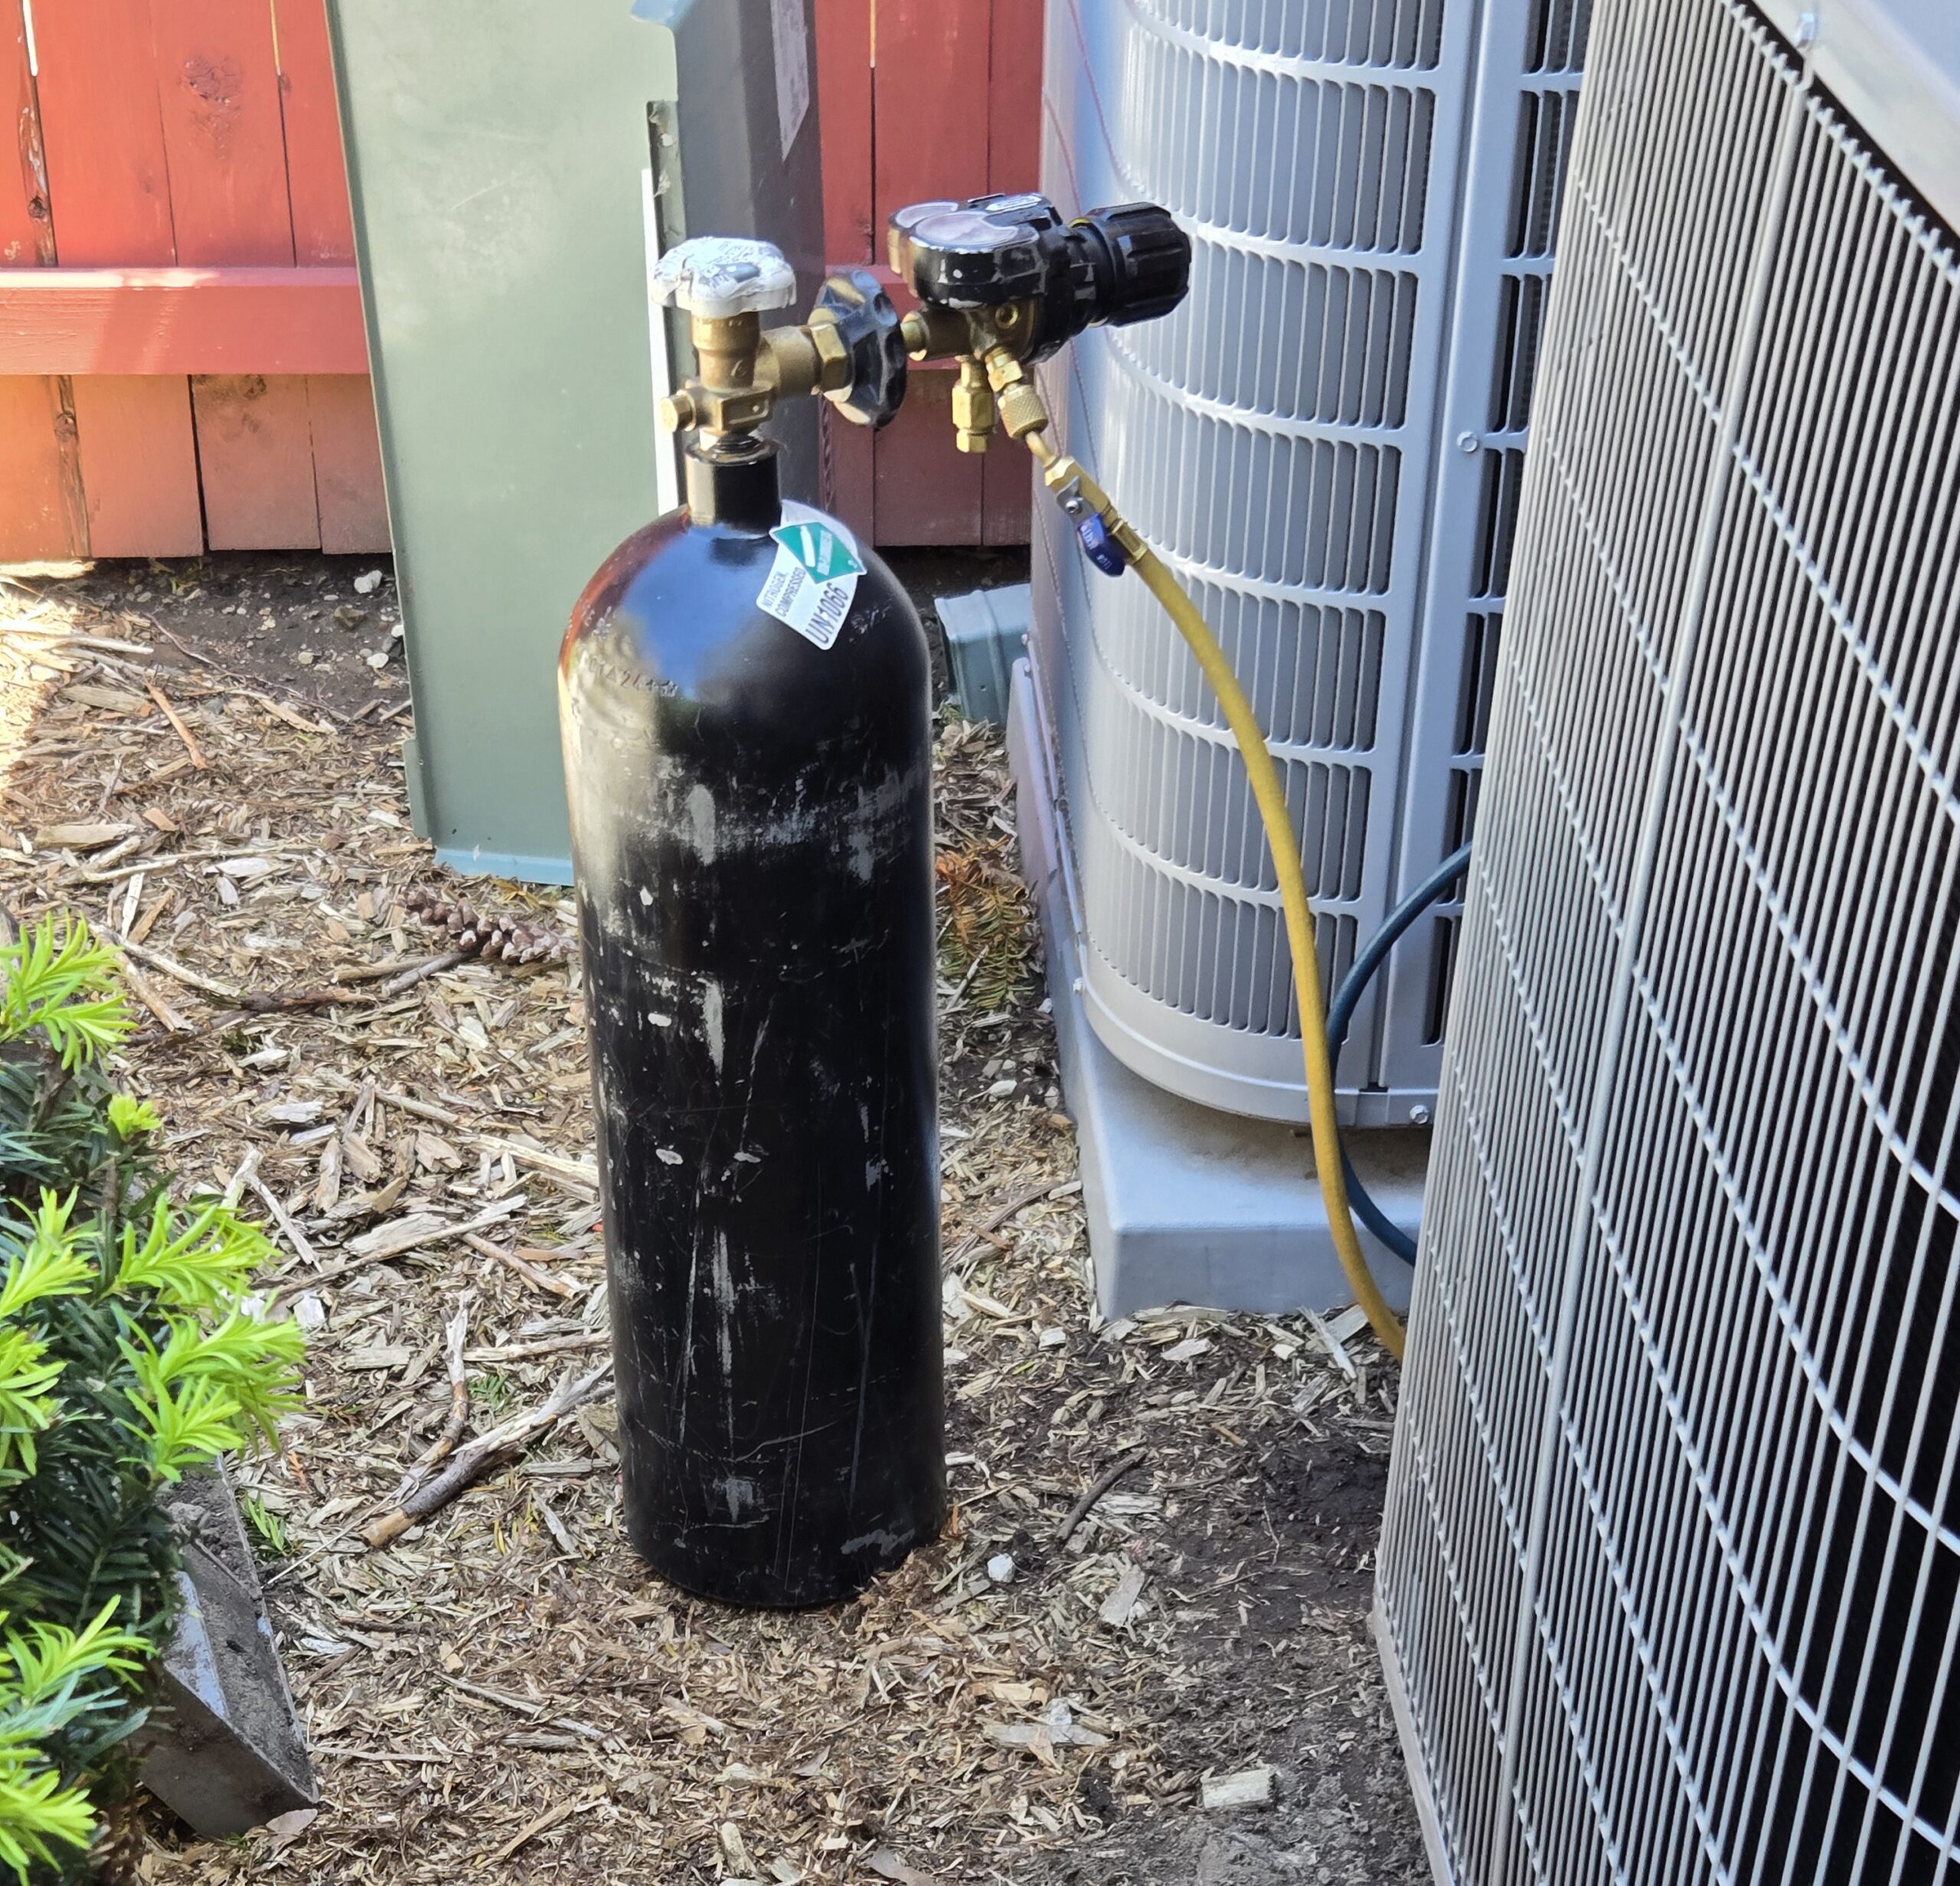
6 – The final step was charging the system with the new refrigerant, testing the system’s airflow, and making sure the thermostat settings were properly calibrated.
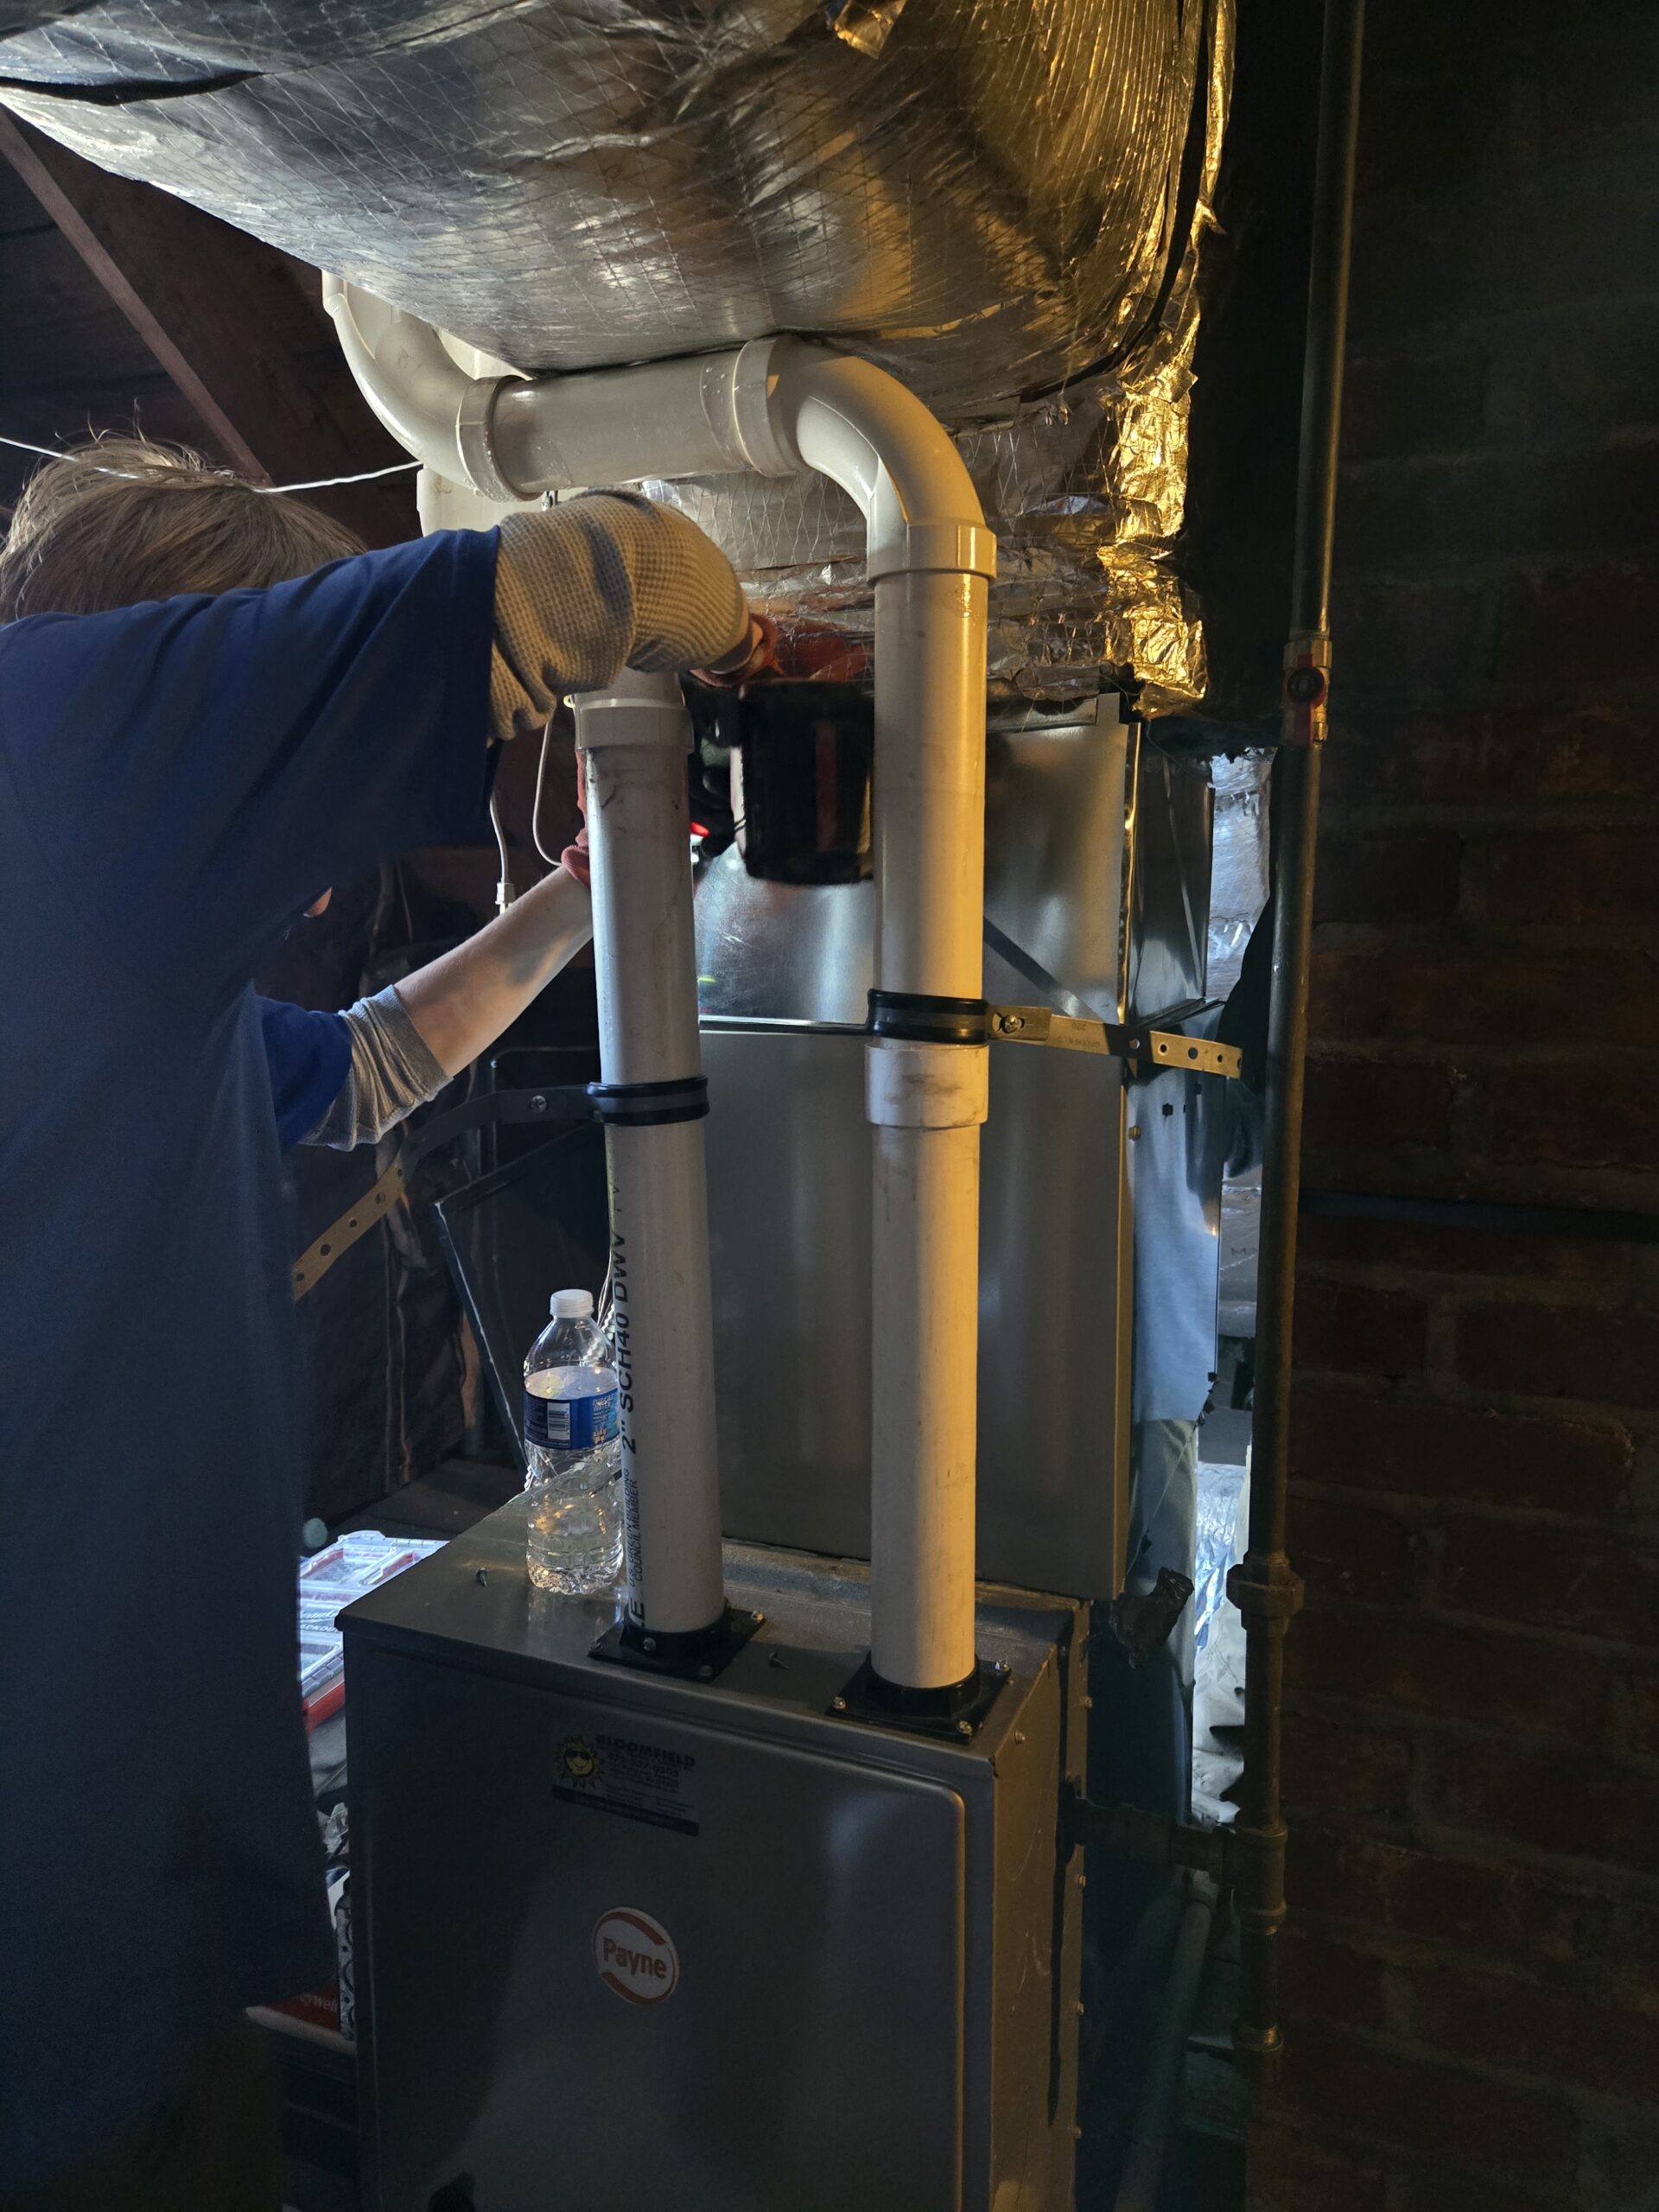
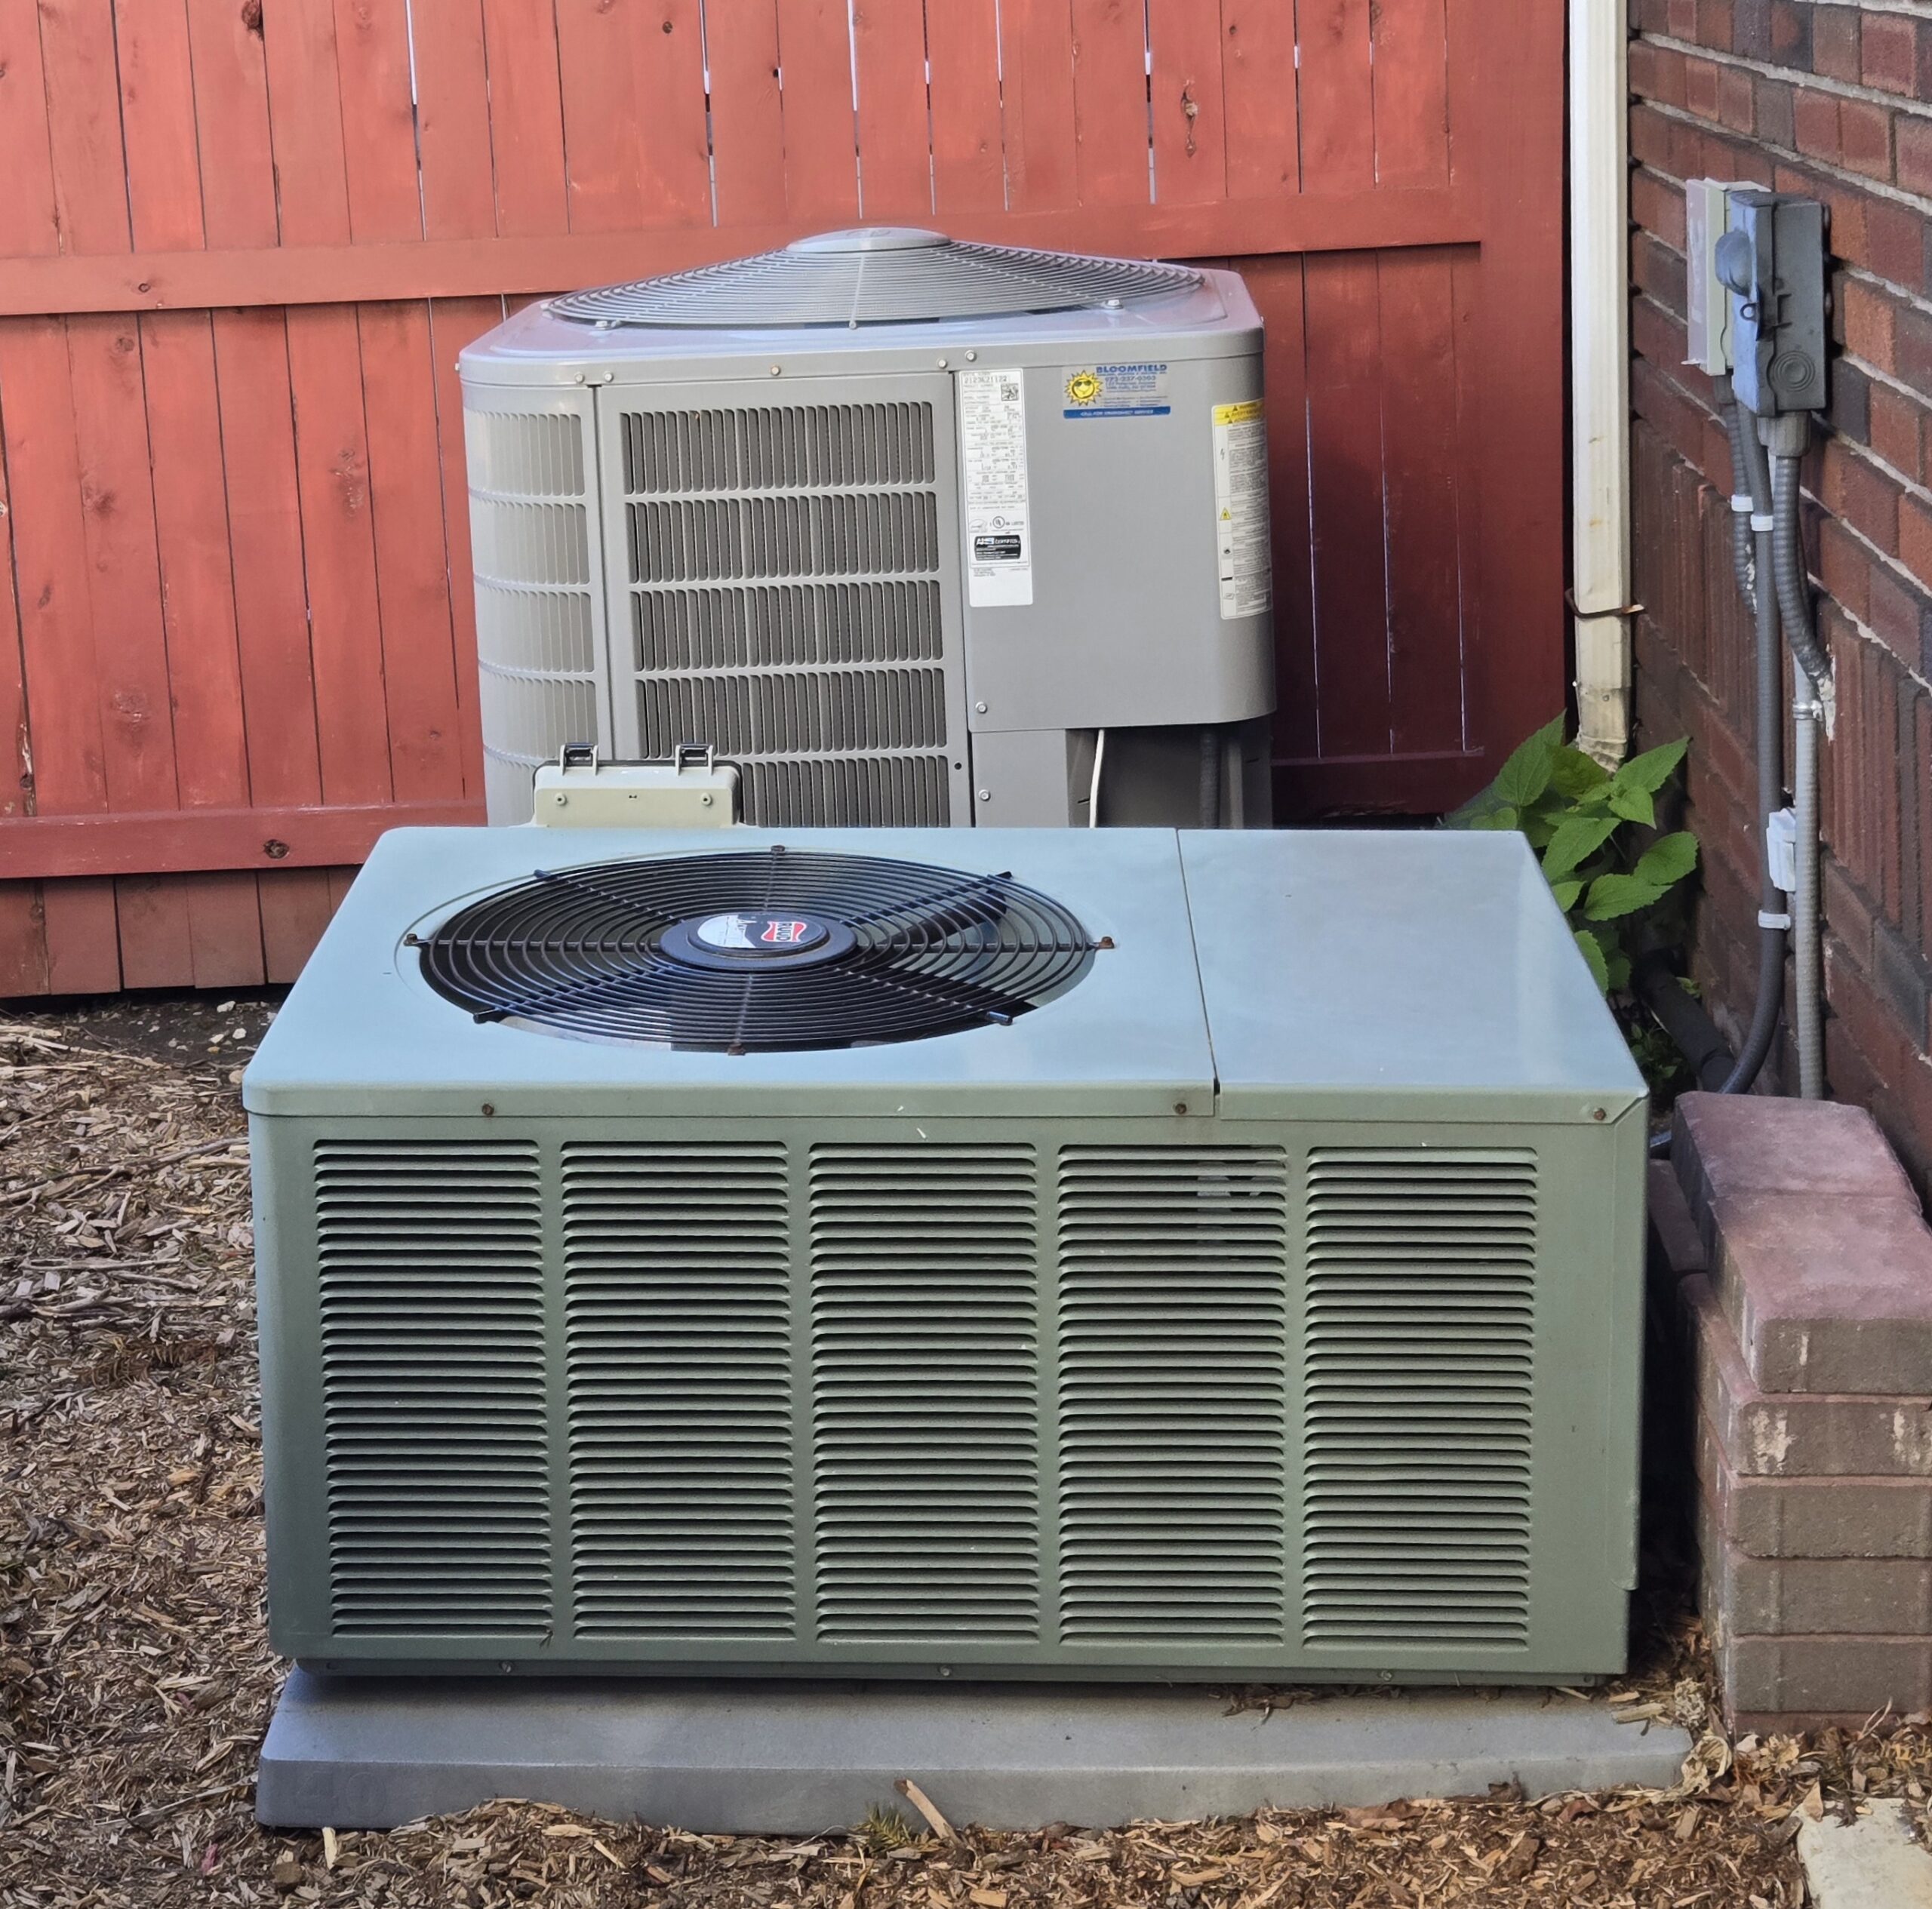
Central AC installation completed
Everything was completed without a single hiccup. The house was left clean and without a trace of any workmen having been there, thanks to floor coverings and booties on their shoes.
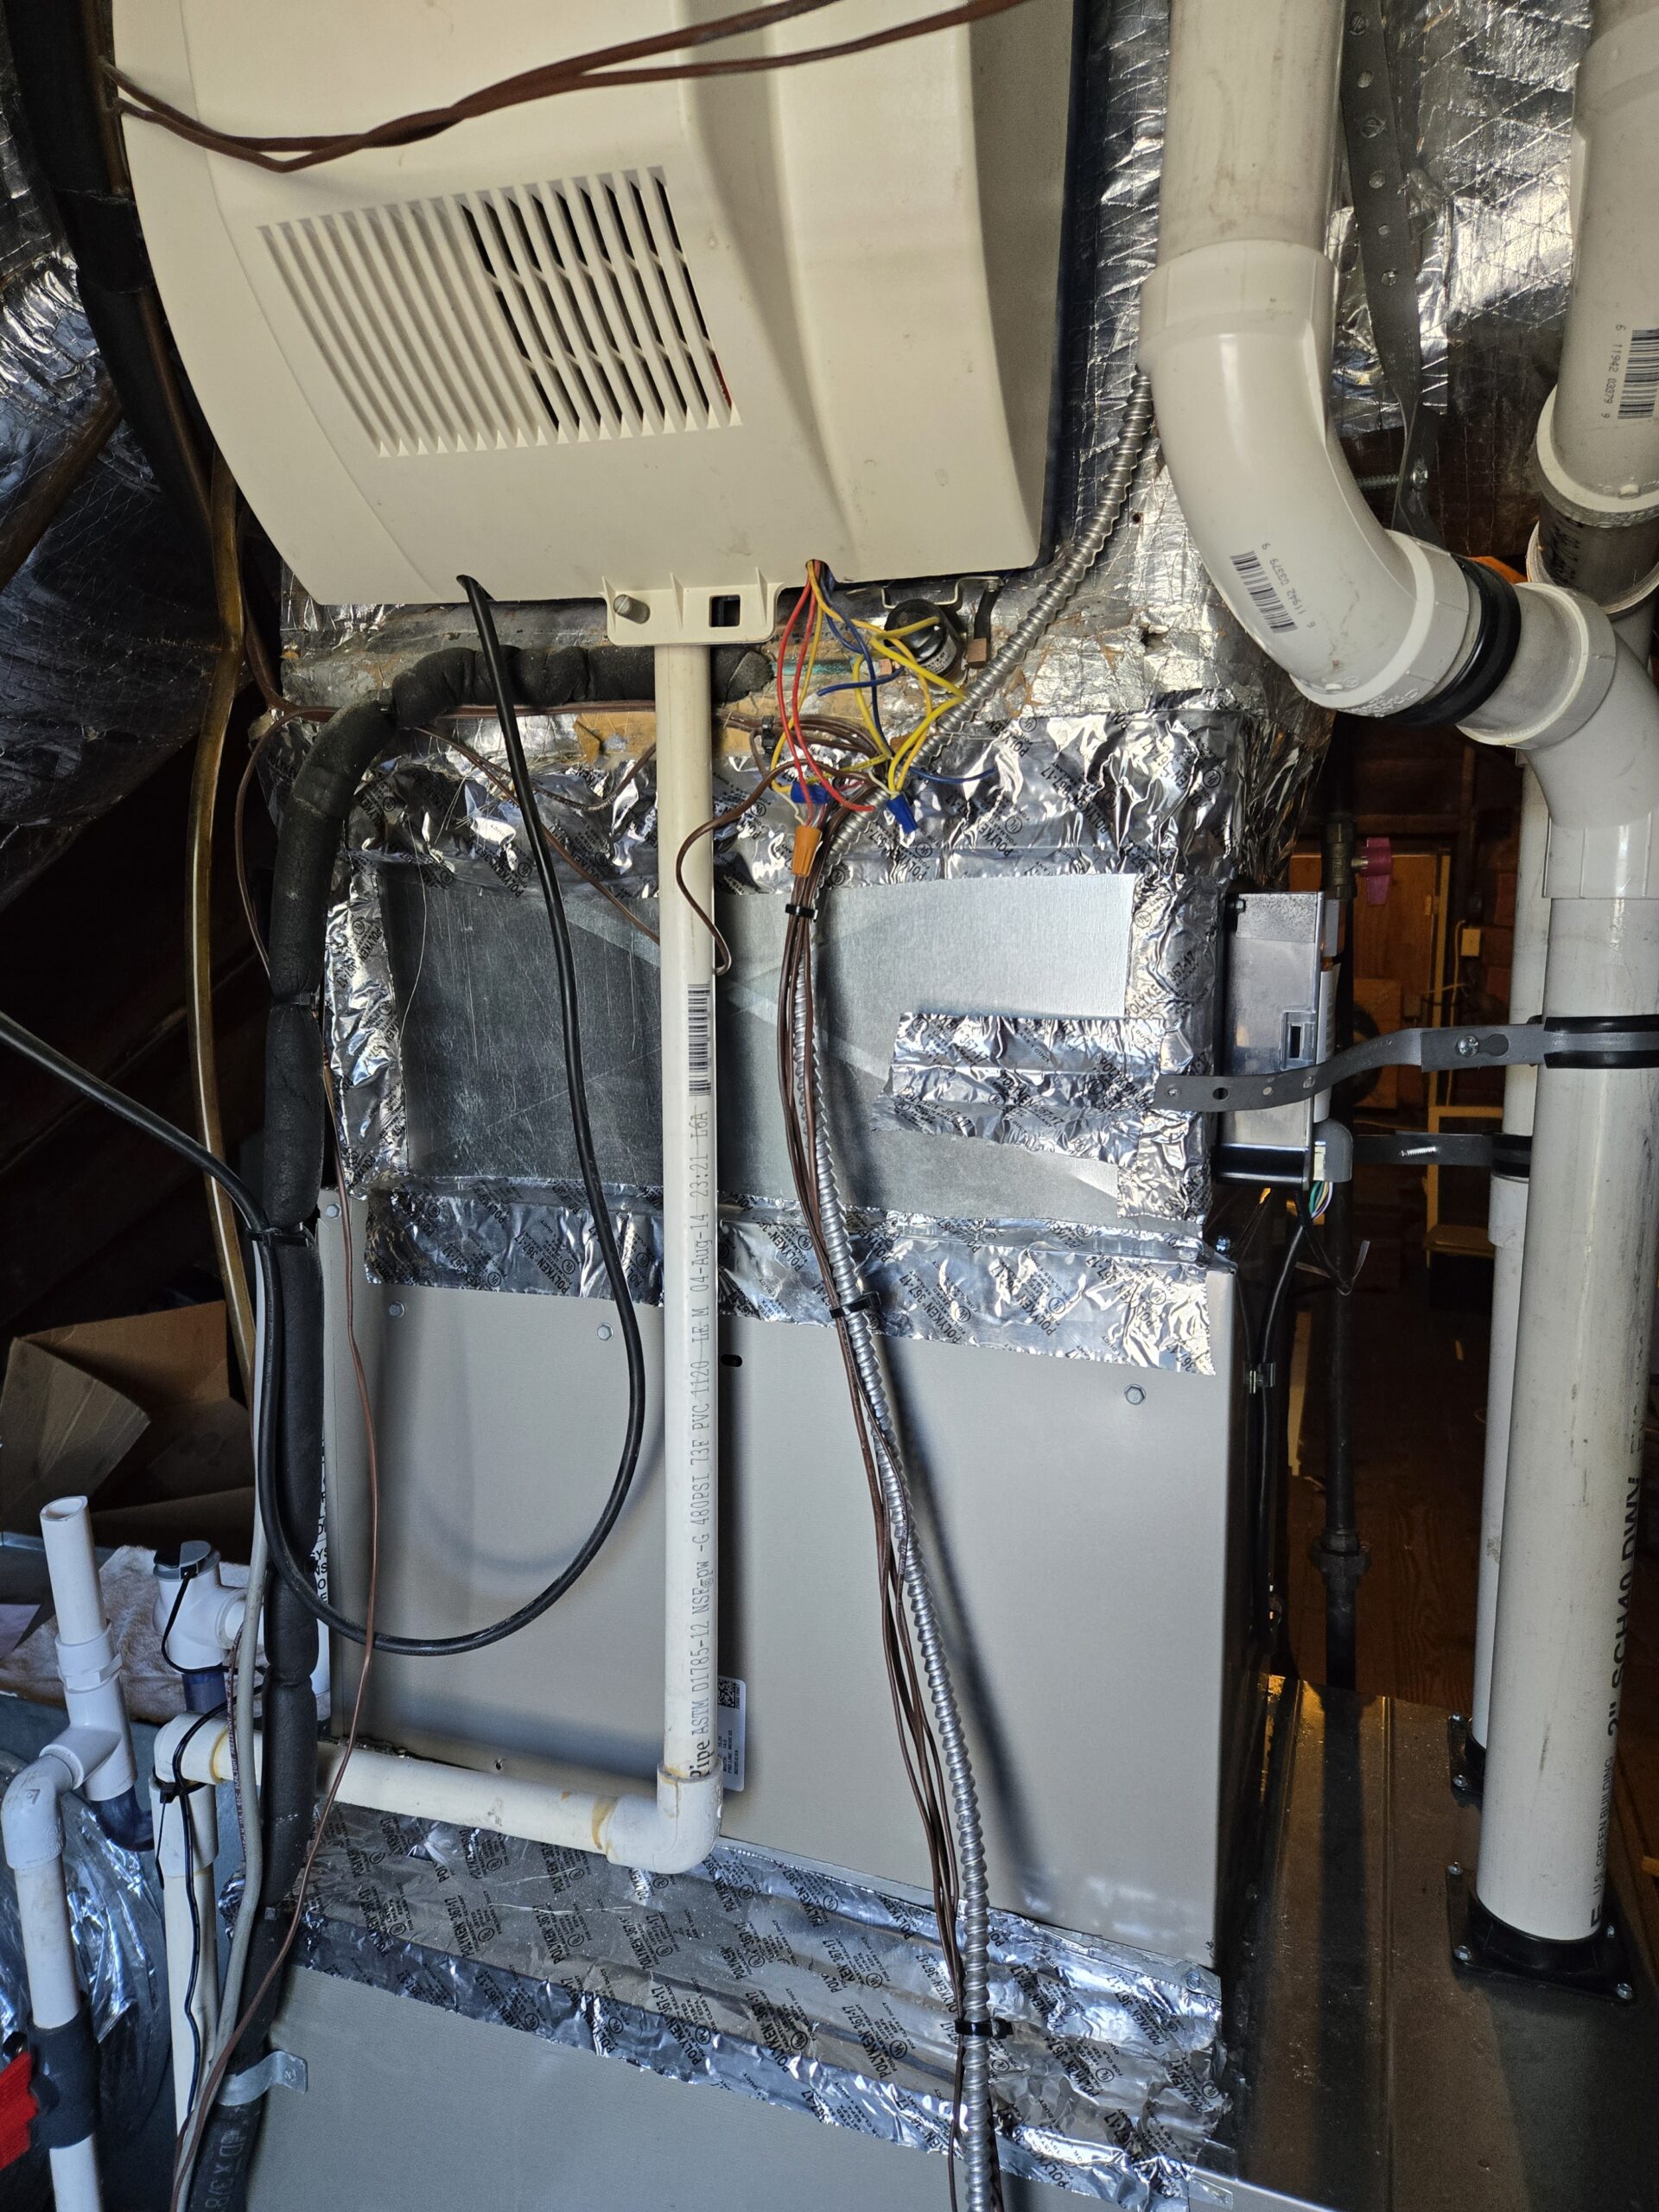
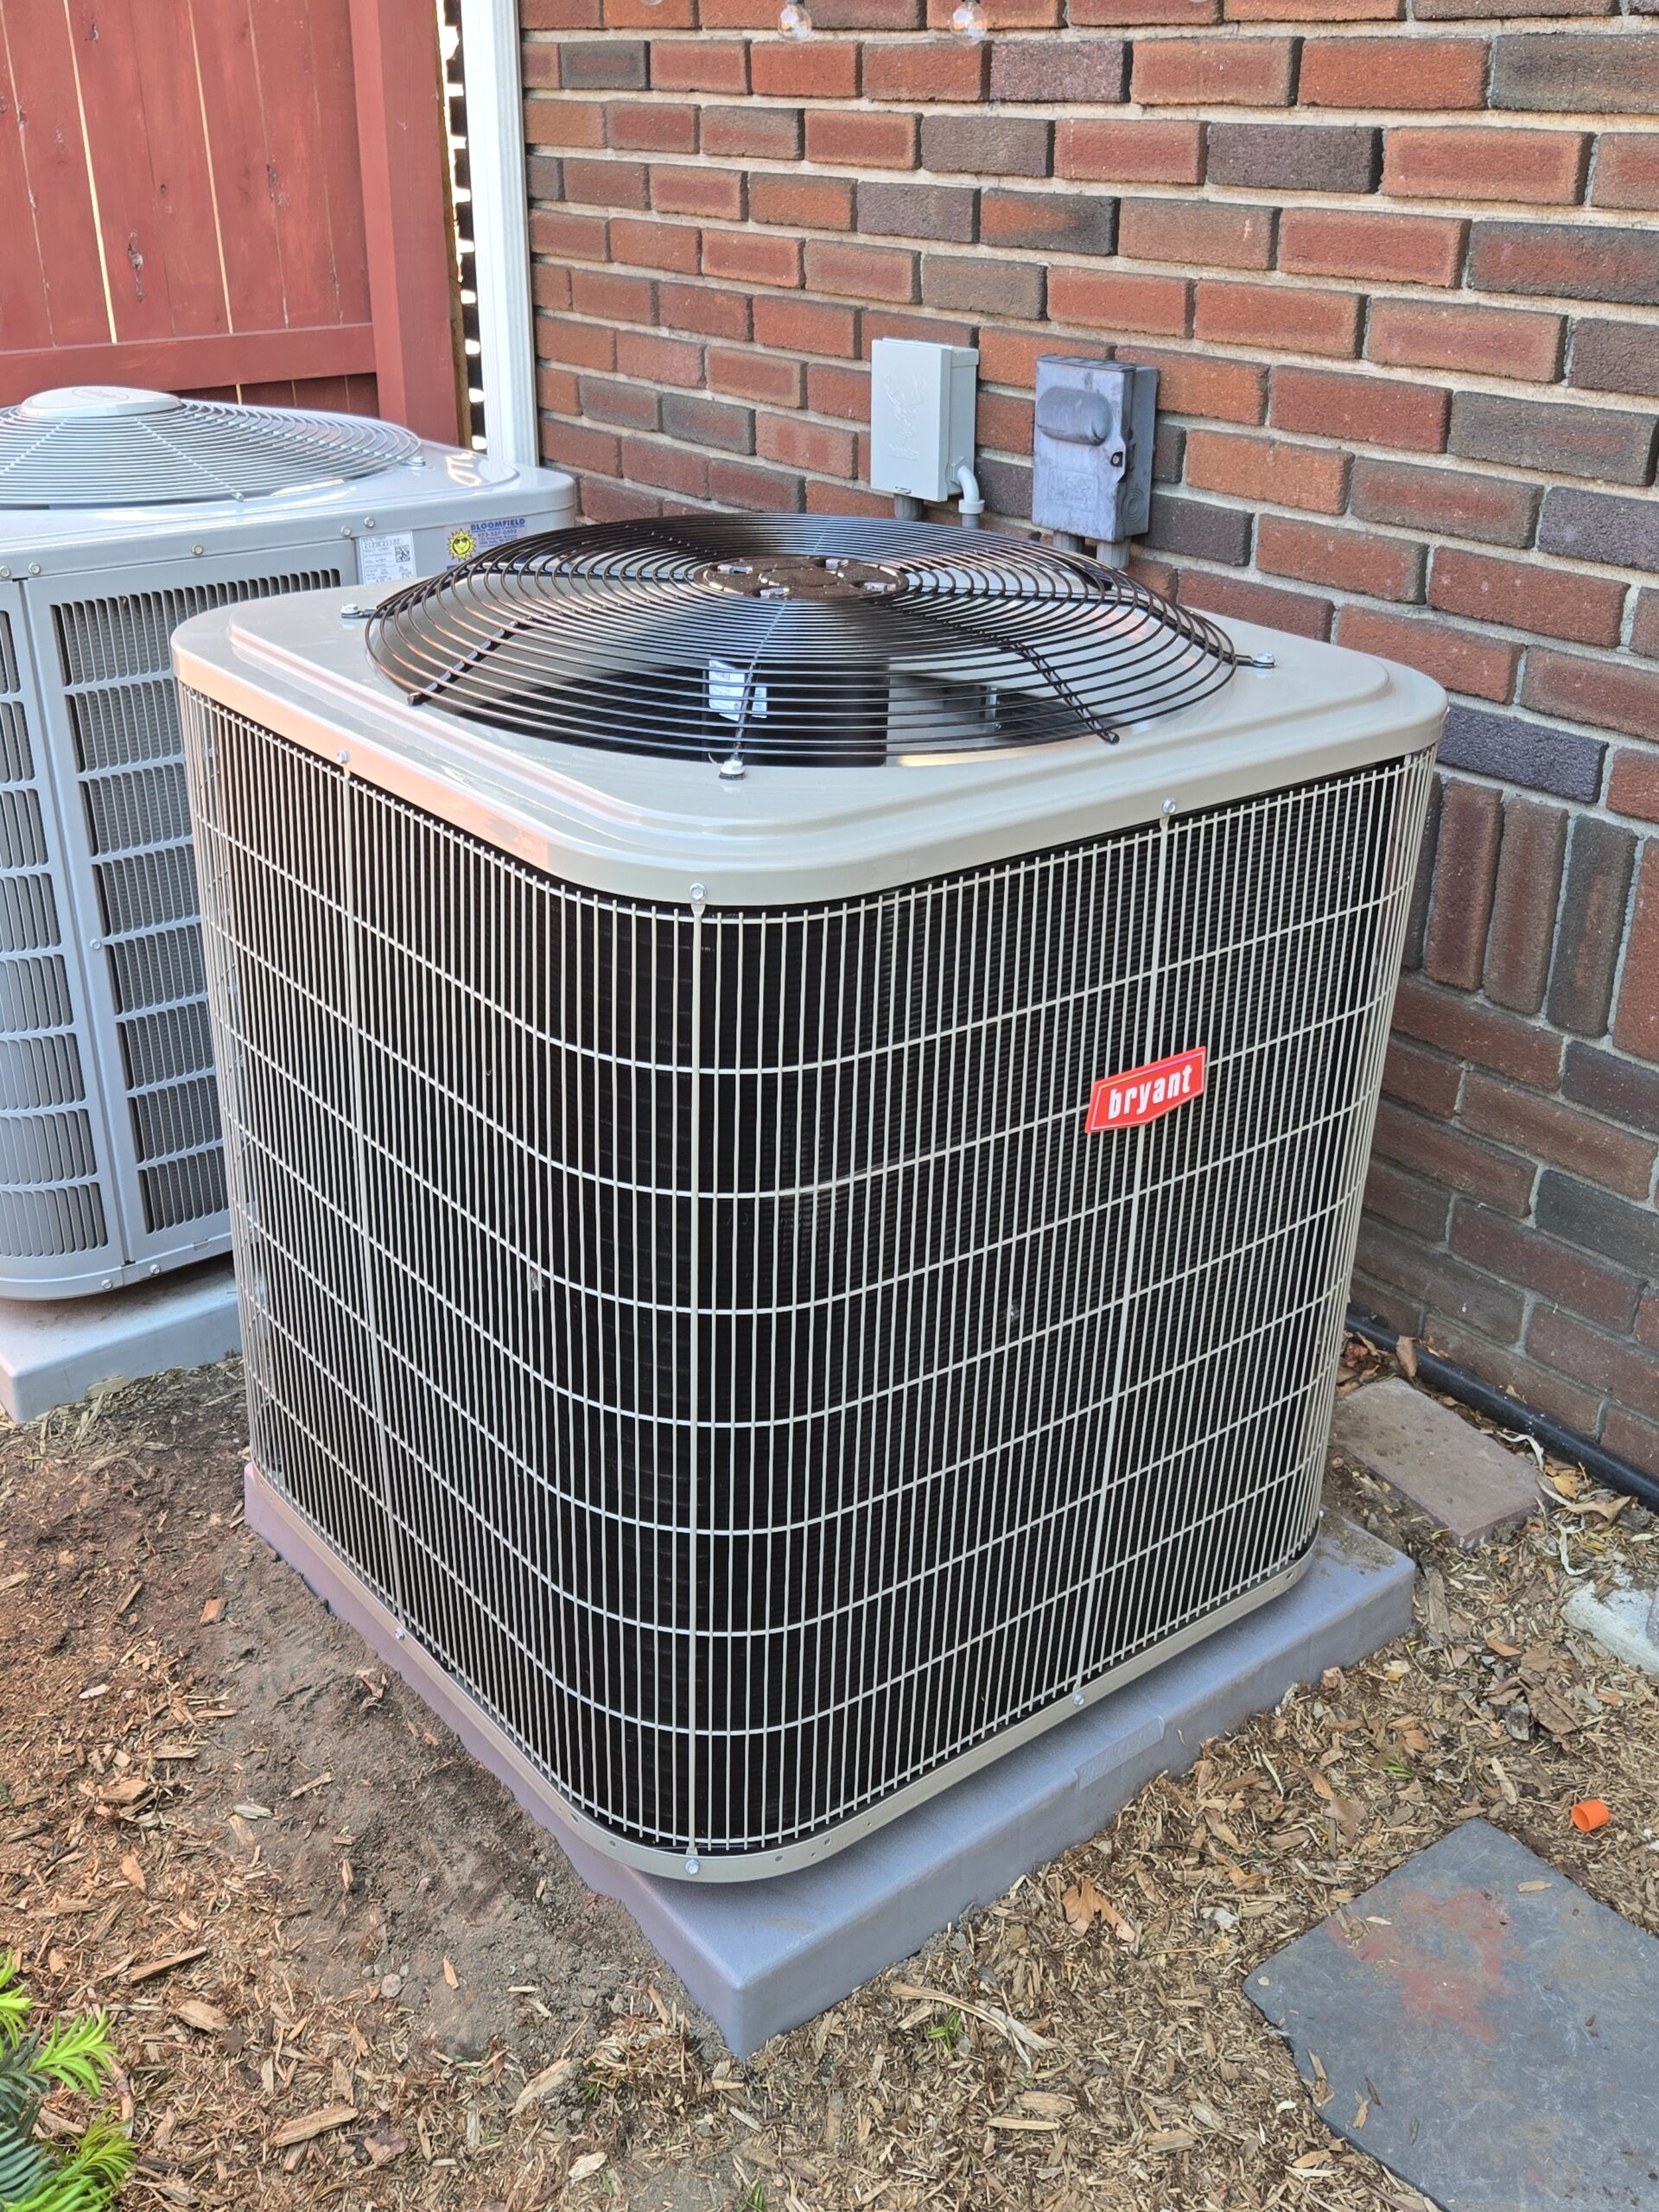
The new system
![]()
![]() Bloomfield Cooling, Heating & Electric had already replaced the upstairs furnace about 14 years ago after the original contractor completely screwed up that installation, causing the heating system to fail (repeatedly) after only six years.
Bloomfield Cooling, Heating & Electric had already replaced the upstairs furnace about 14 years ago after the original contractor completely screwed up that installation, causing the heating system to fail (repeatedly) after only six years.
In 2023, I took advantage of Carrier Cool Cash rebates, PSE&G equipment rebates, and PSE&G financing (zero percent for seven years) for a full HVAC replacement in my basement—another seamless job executed by Bloomfield Cooling, Heating & Electric. It included a new ecobee smart thermostat which I can control from an app on my phone when I am away.
Check out the ad for this year’s Cool Cash rebates and financing offer (for systems contracted by the end of May and installed by June 30, 2026) on our Specials page and call our office right away at 973-237-0505 if you are interested in installing a new system.
©2026 BloomfieldCooling.com. All Rights Reserved. | Privacy Policy | Sitemap | Powered by Media Consultants, LLC